Revit colors by category
Revit's FBX export has no usable materials. The viewer reads each element's category from the file and colors walls, glass, mullions, doors and terrain the way the Autodesk viewer does.
Runs in your browser · FBX and GLB · Nothing to install
CAD Viewer opens Revit, Maya and SketchUp exports right on the page. Cut sections, hide layers and clean up the model, then drop it into its real neighborhood, fly a drone through it and render stills and movies. Your model never leaves your computer.
Built for desktop browsers with WebGL2, tested in Chrome and Safari.
View styles
Switch at the top of the viewer. Each style keeps its own edge lines and settings, and your project remembers which one you left it in.
These images are rendered in your browser from the demo building above. The demo's Photo look is a simplified version: the viewer adds sky lighting, ambient occlusion, bloom, the street context and the path tracer.
How it works
No plugins, no account and no upload. The whole viewer is one HTML file, and your model opens from your own disk.
Export a 3D view from Revit as FBX. Exports from Maya, 3ds Max and SketchUp work too, as FBX or GLB.
Drop the file on the page. Revit exports are colored by category; other files keep their own materials and textures. A 57 MB export opens in about six seconds.
Box the streets and site work the exporter brought along and press Delete. Hide whole categories from Layers. ⌘Z brings anything back.
Place it on its street, switch to Shaded or Photo, fly the drone, then save a .cadviewer project or render stills and movies.
Site context
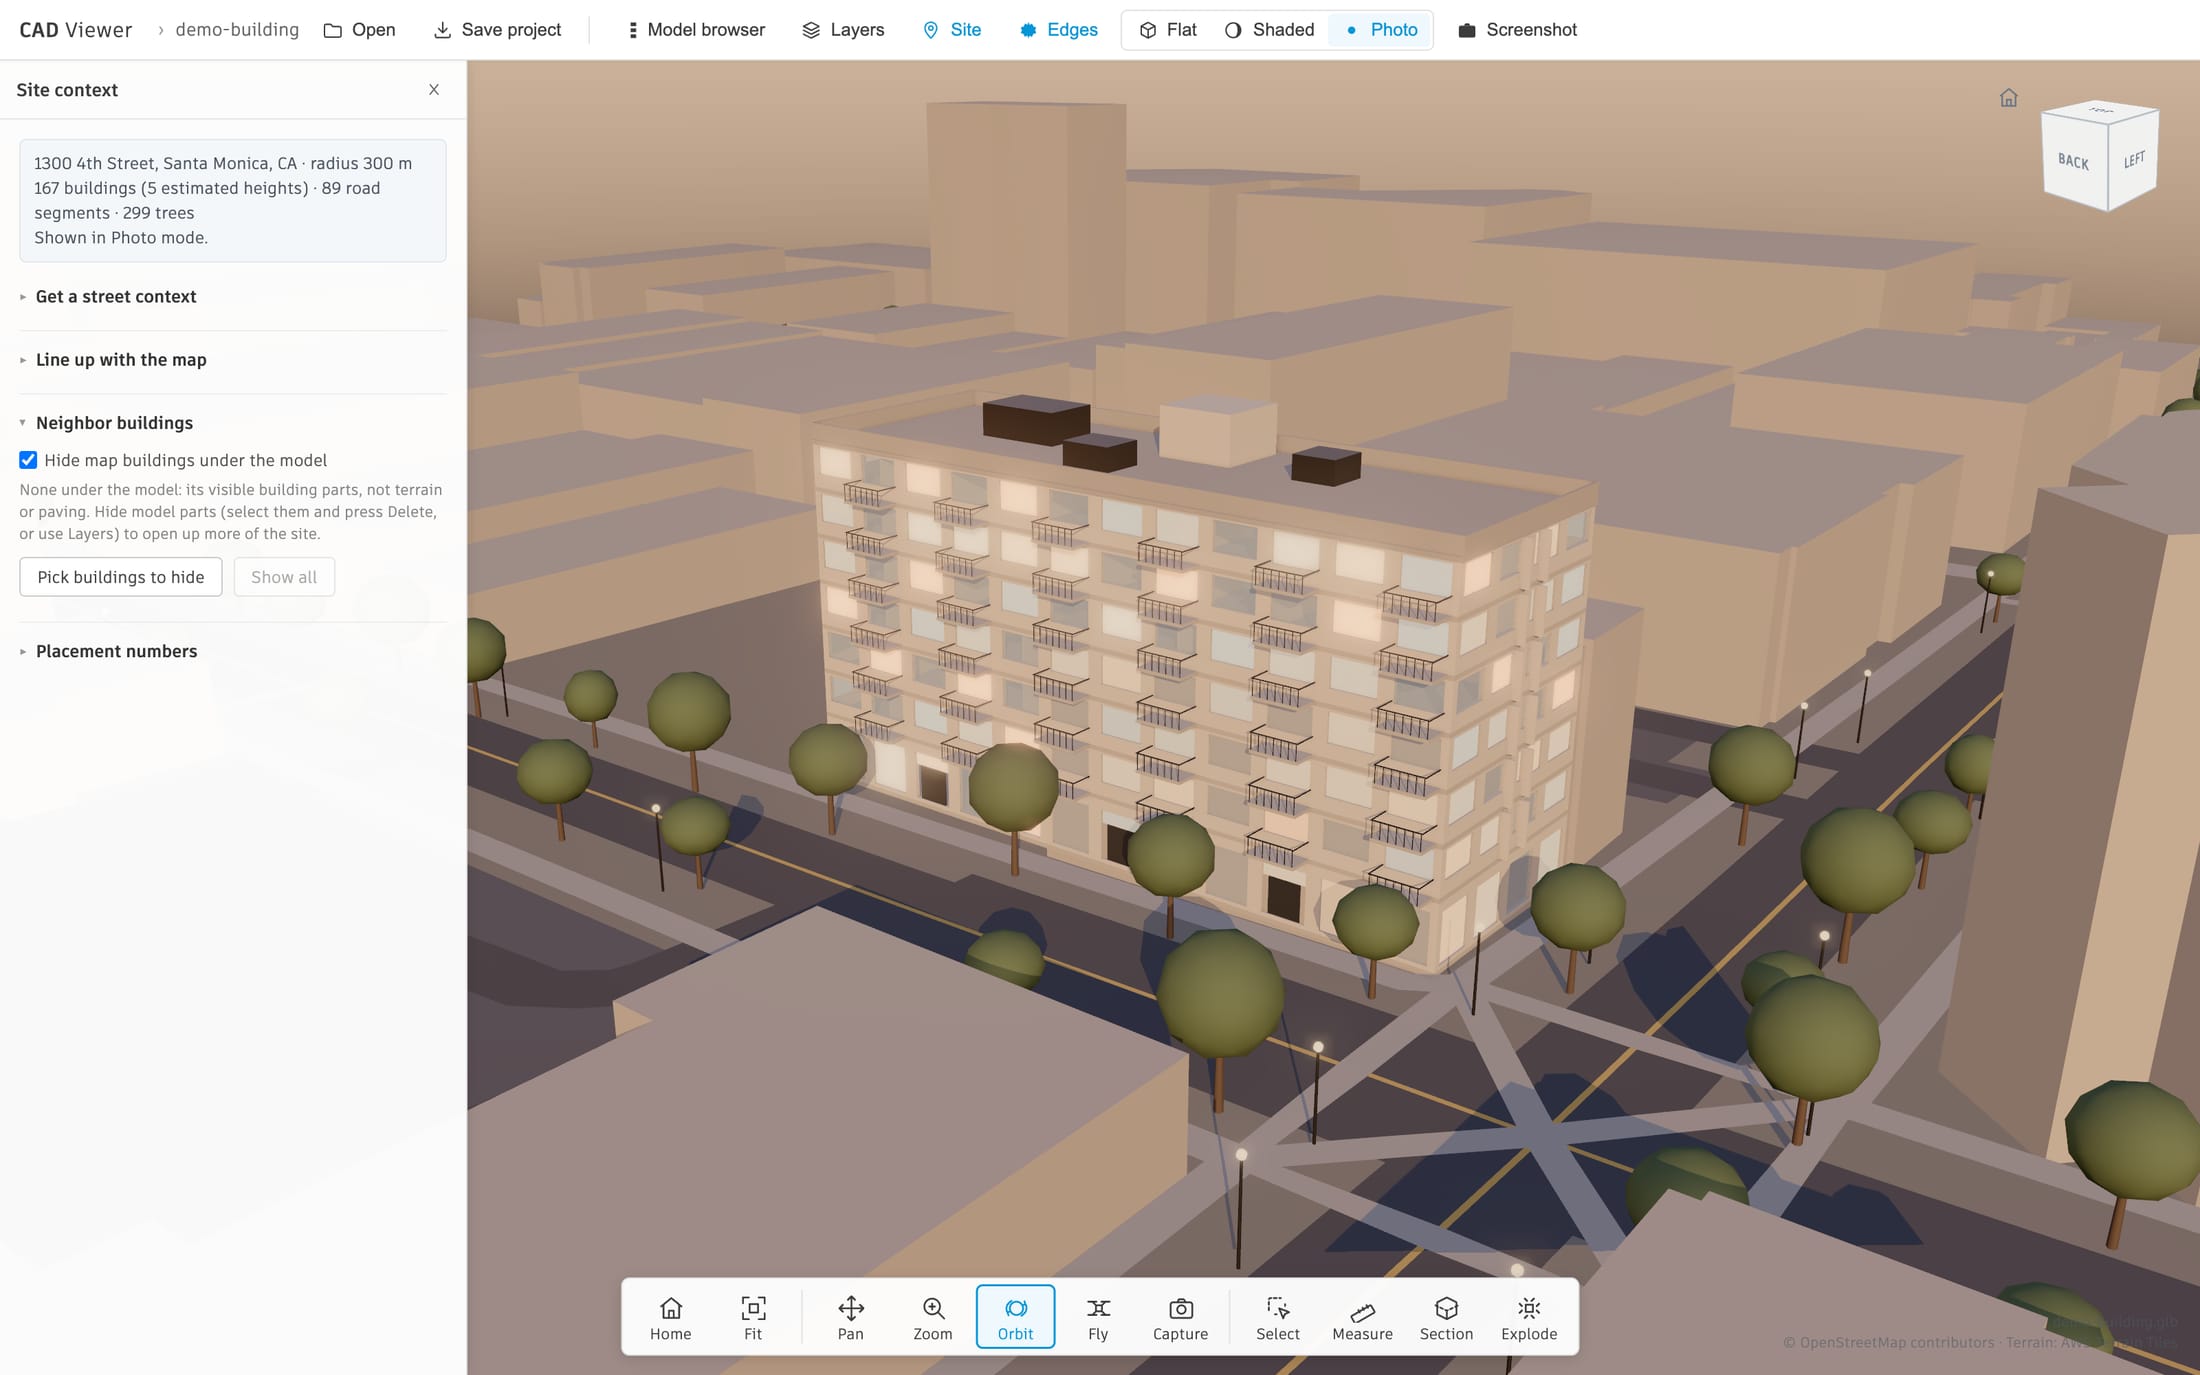
Type the property's address. The viewer brings in the streets, sidewalks, neighboring buildings, trees and street lights around it, drapes them over the real terrain, and helps you line the model up.
You are preparing the surroundings of a property for CAD Viewer, a browser-based 3D architecture viewer. …

The property
- Address: 1234 Example Street, Los Angeles, CA
- Radius: 300 m around the anchor
- Output file: 1234-example-street.context.json

Where the data should come from (best first)
1. Streets, sidewalks, building footprints, trees, street lights, parks, water, surface parking: OpenStreetMap, via the Overpass API.
2. Building heights: prefer measured heights from local government GIS, such as LA County "Countywide Building Outlines" (LARIAC, HEIGHT in feet) or NYC "Building Footprints" (HEIGHTROOF), then Overture Maps, then OpenStreetMap. …
   Mark every height you could not source as "estimated": true.
3. Recent or planned buildings: add ones completed after the mapped data, or approved or under construction within the radius. …
Open the .context.json it returns and the neighborhood appears around your model, in the viewer and in every render.
Fly and capture
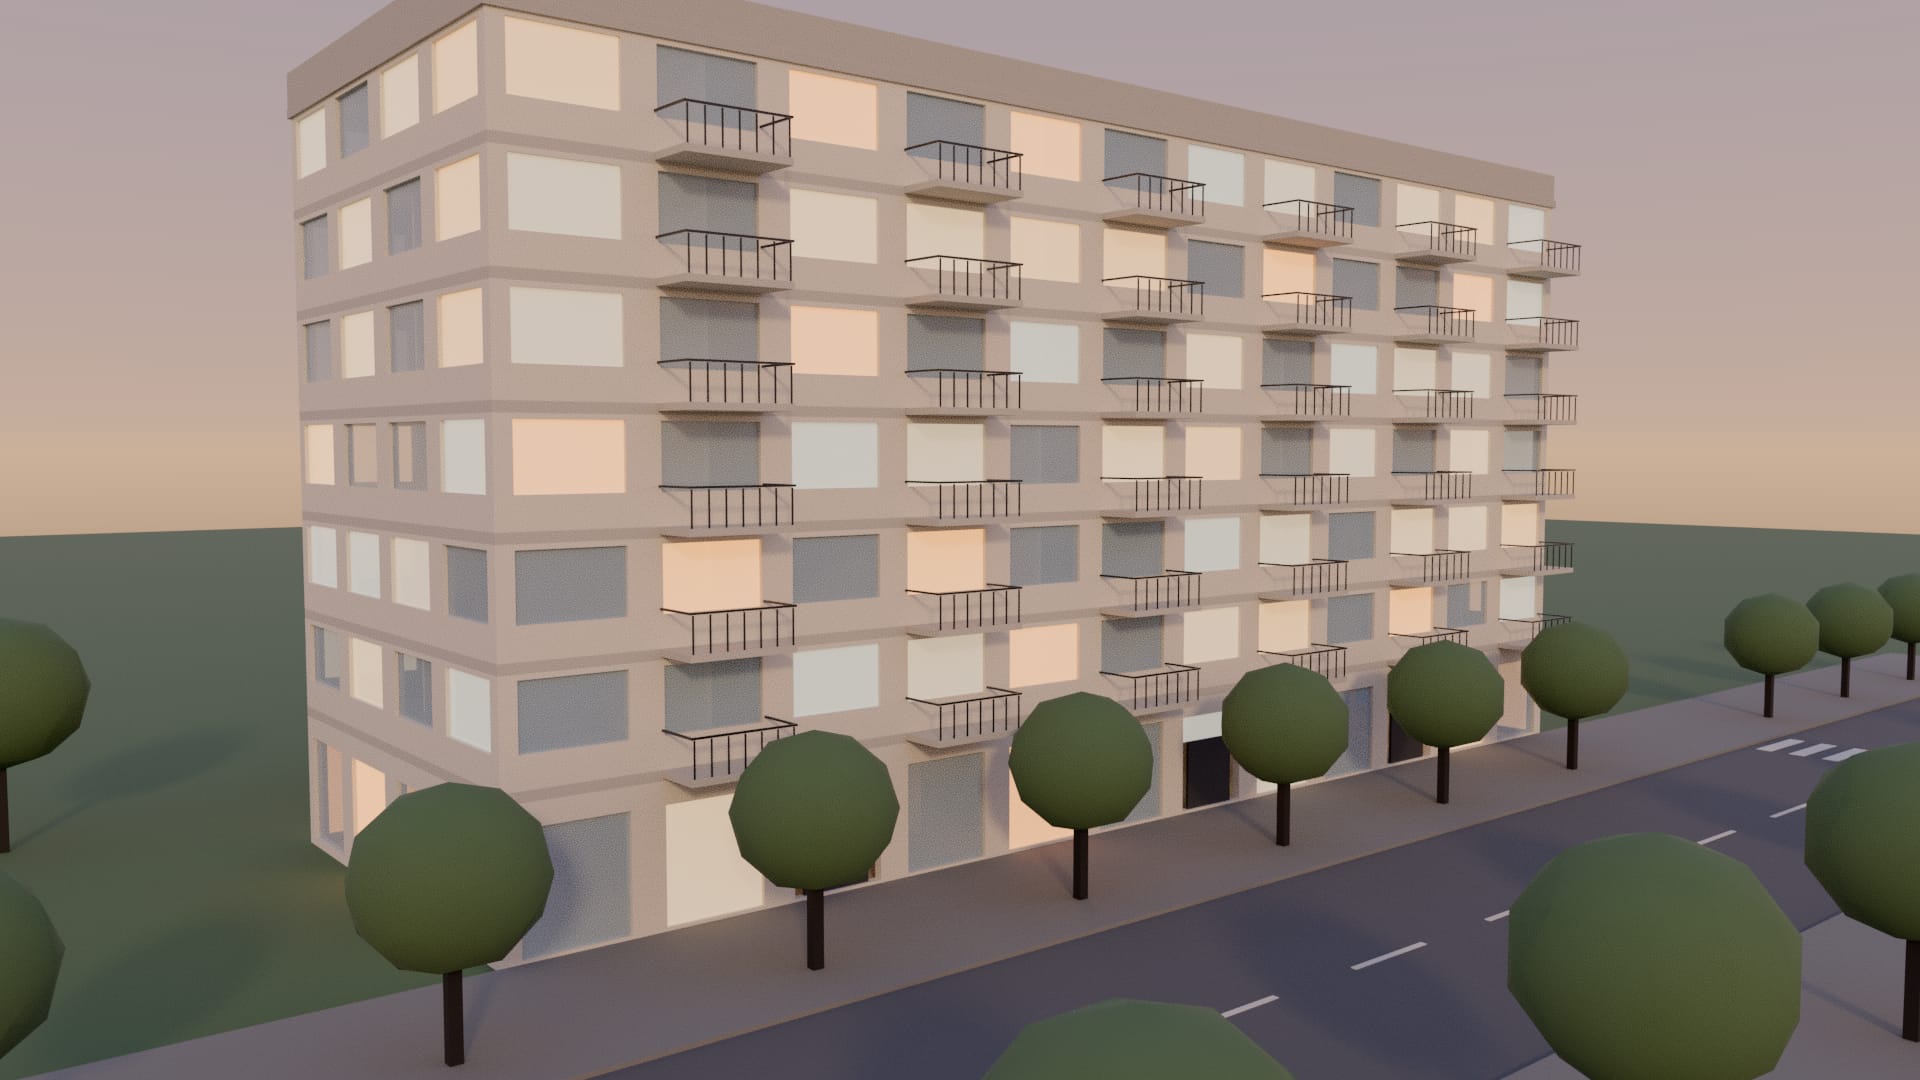
Fly mode drives the camera like a camera drone, even inside the building, and the Capture panel turns what you see into stills and MP4 movies without leaving the page.
      time  stop                  lens
K1   0.0 s  Across the street     24 mm
K2   4.0 s  Corner, rising        24 mm
K3   8.5 s  Over the roof         18 mm
K4  12.0 s  Along the balconies   35 mm
K5  15.5 s  Entrance, eye level   24 mm

Render MP4 · 1920 × 1080 · 30 fps · Realtime
Rendered by the viewer from the demo building at the top of this page: Photo mode at golden hour, drawn frame by frame at 1920 × 1080 and 30 fps, then compressed for this page. Record live captures the viewport while you fly by hand.
Use AI to enhance
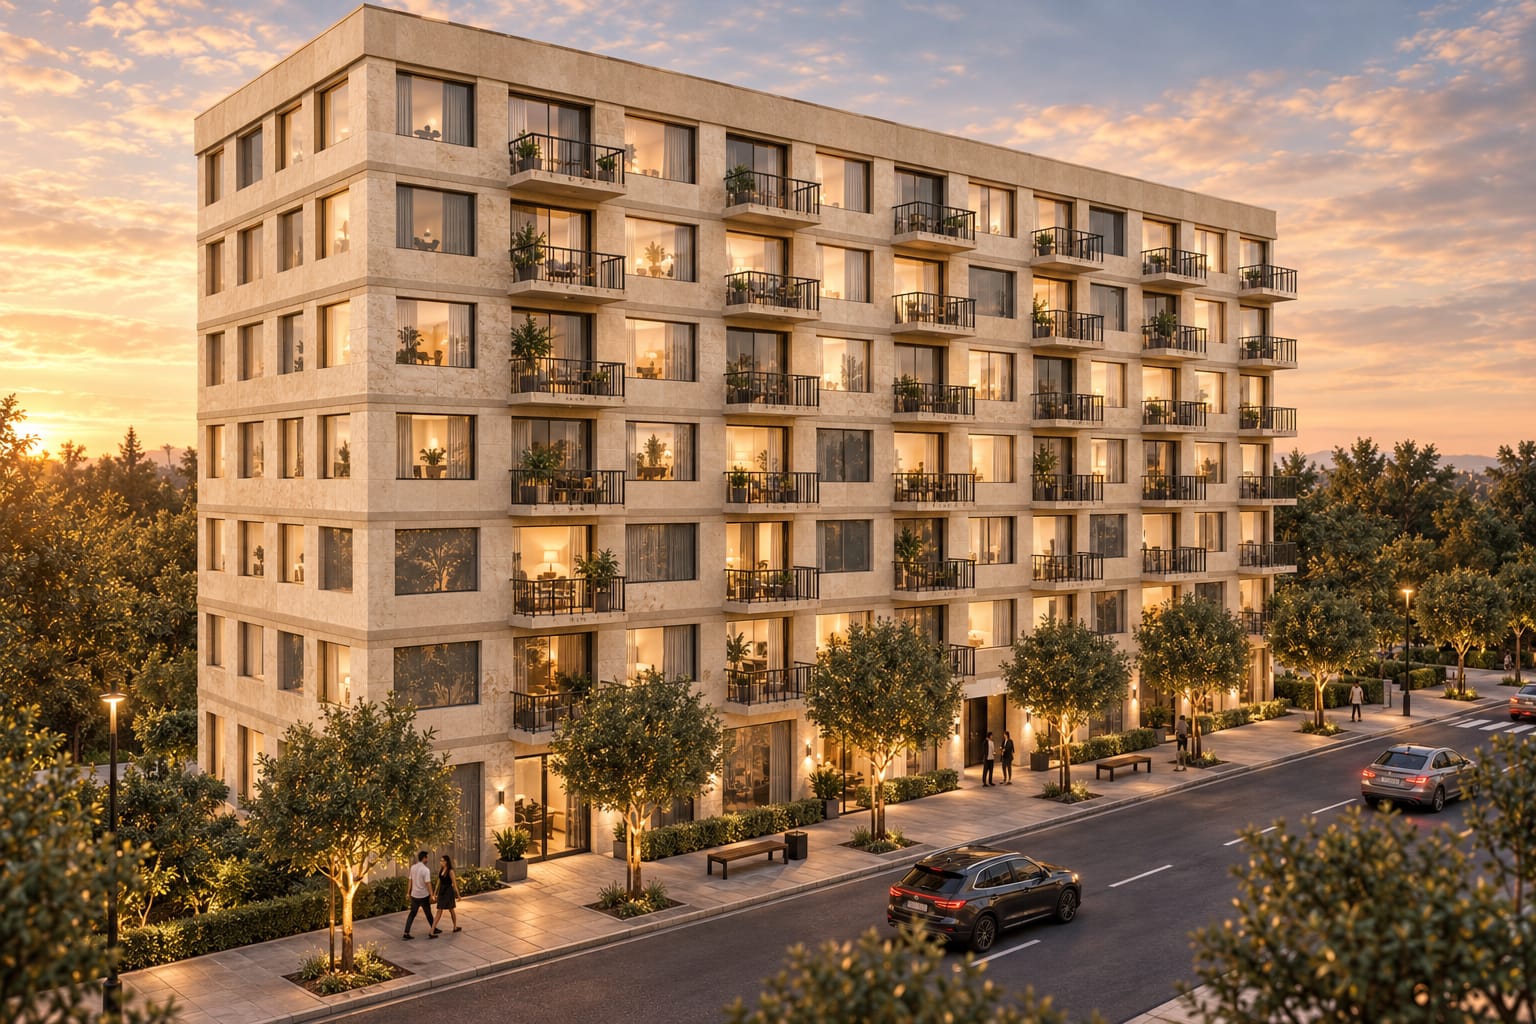
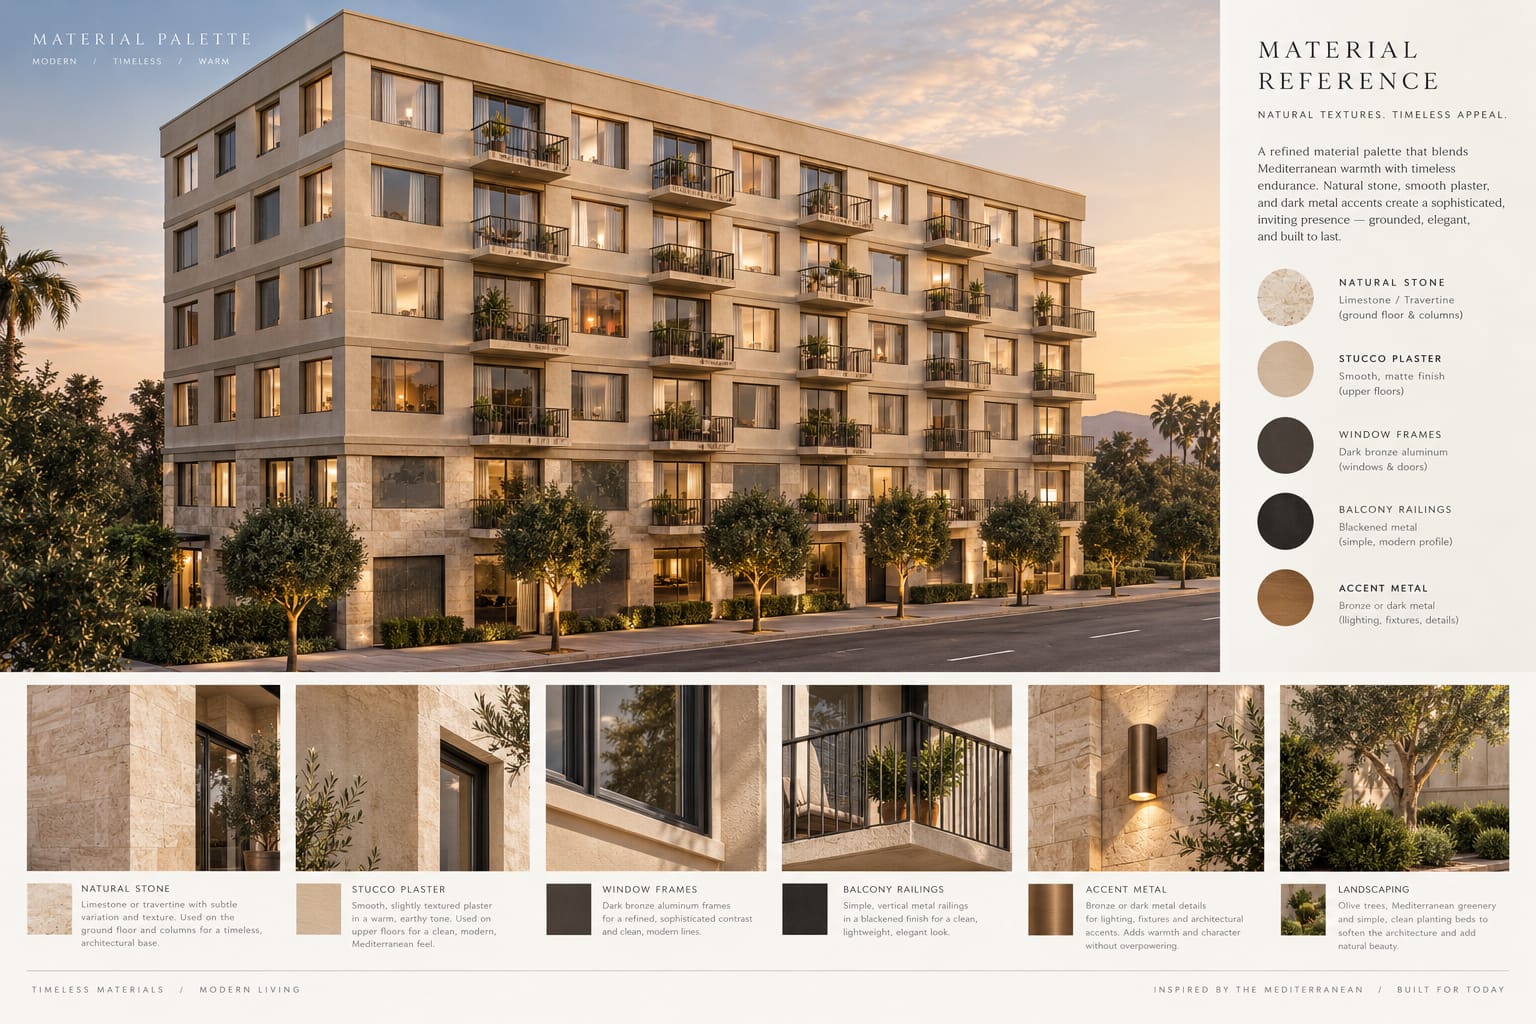
The viewer gets the geometry exactly right. An image model is good at everything around it: materials, light, people and planting. Give ChatGPT a render and a style reference, and the finished image drops straight back over the original. It can even choose the materials.
Materials from AI
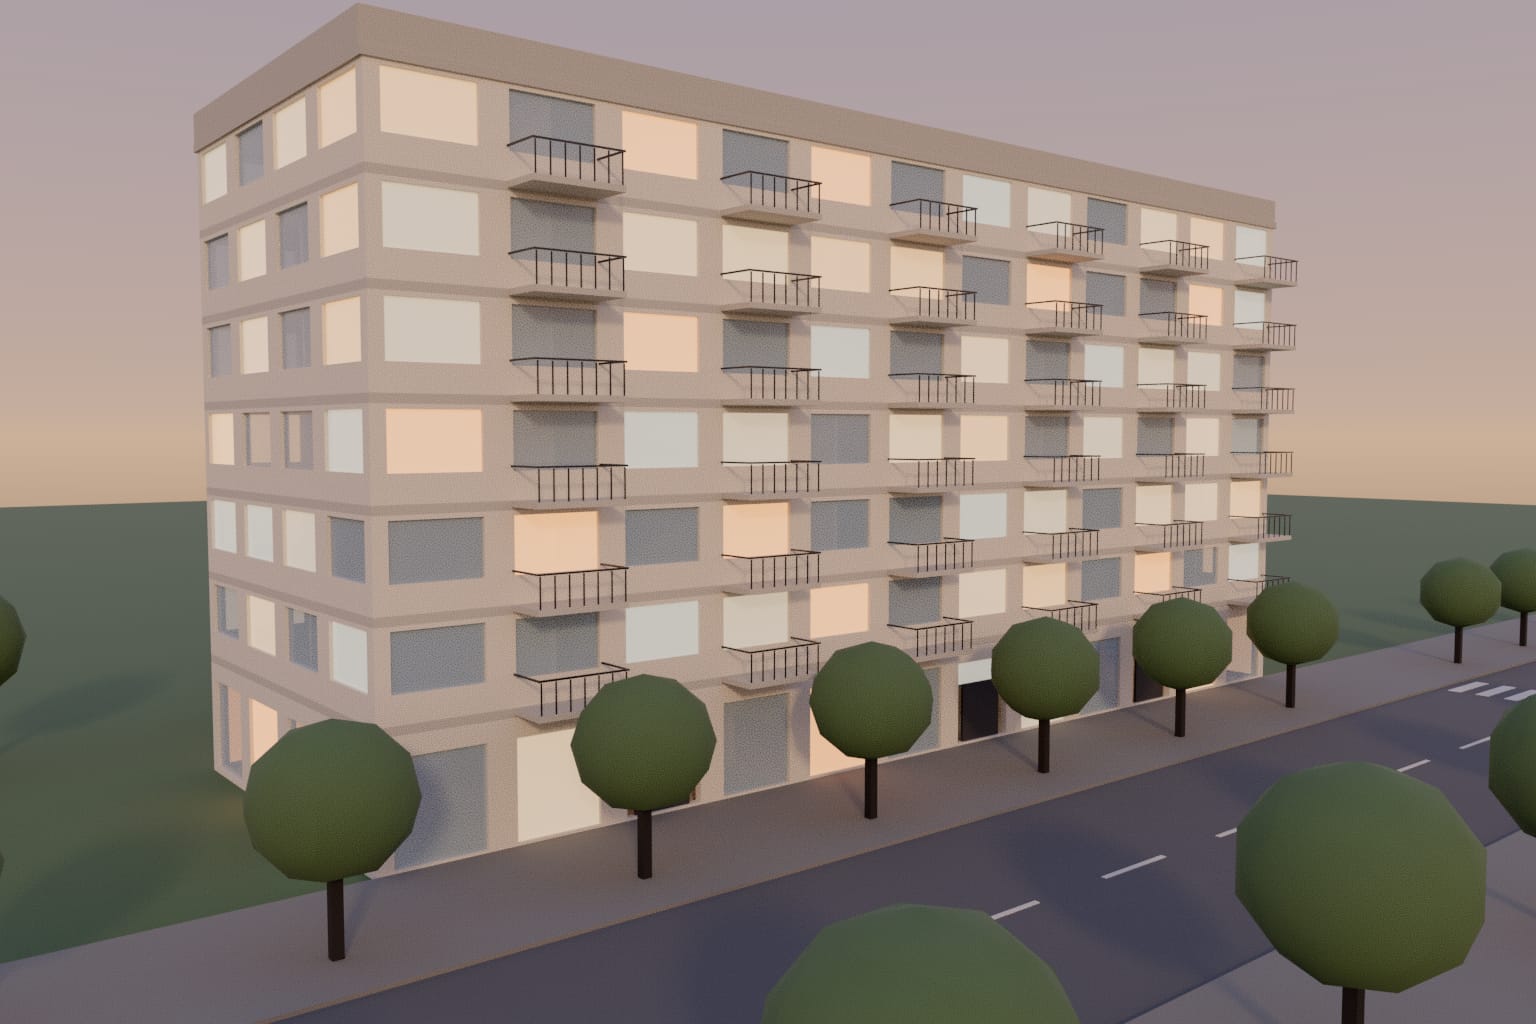
Send the export on its own with a line about the mood you want. ChatGPT comes back with a material board: travertine at the base, smooth stucco above, dark bronze frames, blackened railings and olive trees. That board becomes the style reference for the finished image.
 app-export.jpg · 1536 × 1024
Make a material style reference for this rendering as if it were a real building in the real world. It should be nice and fancy and simple, perhaps Mediterranean meets Indiana Jones. Give a material reference guide.
No plugins and no special software: the render comes from the viewer, and the rest happens in ChatGPT.
app-export.jpg · 1536 × 1024 ai-materials.jpg · material guide
Turn the first image into a photoreal architectural rendering, using the second image as the style reference for materials, light, color and atmosphere. The first image is a 1536 × 1024 render exported from a 3D model. Its geometry is correct, so keep these exactly where they are: - the camera, perspective, framing and horizon; don't zoom, crop, shift or extend - the building's outline, floor lines, every window, balcony and railing, the roofline and rooftop units - the street, sidewalks, crosswalk and the position of every tree Improve everything else: - materials: a warm limestone facade, slim dark bronze window frames, glass that reflects the sky and shows lit interiors - light: late-afternoon sun from the left, with soft, believable shadows - life: a few people on the sidewalks, cars parked and moving, street lights and benches - planting: full tree canopies, low shrubs along the building, a green lawn Return one image, 1536 × 1024, with the same framing.
Only the highlighted lines are yours to change. The rest is what keeps the building where the viewer put it.
Features
The tools an architect, owner or broker needs to open a model someone sent them, make sense of it and show it off.
Revit's FBX export has no usable materials. The viewer reads each element's category from the file and colors walls, glass, mullions, doors and terrain the way the Autodesk viewer does.
Drag left to right to pick what's fully inside the box, right to left to pick what it touches. Delete hides it and ⌘Z undoes, for parts, layers and whole categories.
Cut the model horizontally like a floor plan, or vertically through its length, and keep the cut while you orbit, fly, render and save.
Click two points for the distance in feet and inches and in meters. Units come from the export, so a Revit model measures the way it was drawn.
Dusk, golden hour, midday and night, glowing windows and soft shadows, then a progressive path tracer. Export beauty, depth and edge passes for AI image tools like Render Compositor.
The viewer is a single HTML file that works offline. Models open from your disk and are never uploaded. Fetching a street context sends only the address and its map area.
Keyboard
Hover any button in the viewer to see what it does.
Drop in an FBX or GLB, box out the street, and press Shaded.
Open the viewer